1. Item Name : PhotoEditor - An innovative, smart photo editor for Android.
  2. Created: 01 May 2024
  3. Item Version : v 0.0.1
  4. Author : PhotoEditor
  5. Support Ticket: [email protected]

Introduction

PhotoEditor - An innovative, smart photo editor for Android documentation.

For any support please don't hesitate to contact us at Support Center. We provide 13 hours real-time support for our customers.

We would like to thank you for choosing PhotoEditor.

Getting started

PhotoEditor is a powerful Android application that allows you to edit and enhance your photos with ease. It offers a wide range of features, including filters, effects, cropping, resizing, and more.

Features

PhotoEditor is a powerful Android application that allows you to edit and enhance your photos with ease. It offers a wide range of features, including filters, effects, cropping, resizing, and more.

To get started, download and install the PhotoEditor app from the Google Play Store. Once installed, open the app and select a photo from your gallery or take a new one. You can then use the various editing tools to adjust your photo to your liking. When you're done, save your edited photo to your device or share it directly from the app.

For more detailed instructions, refer to the user manual included in the app's Help section.

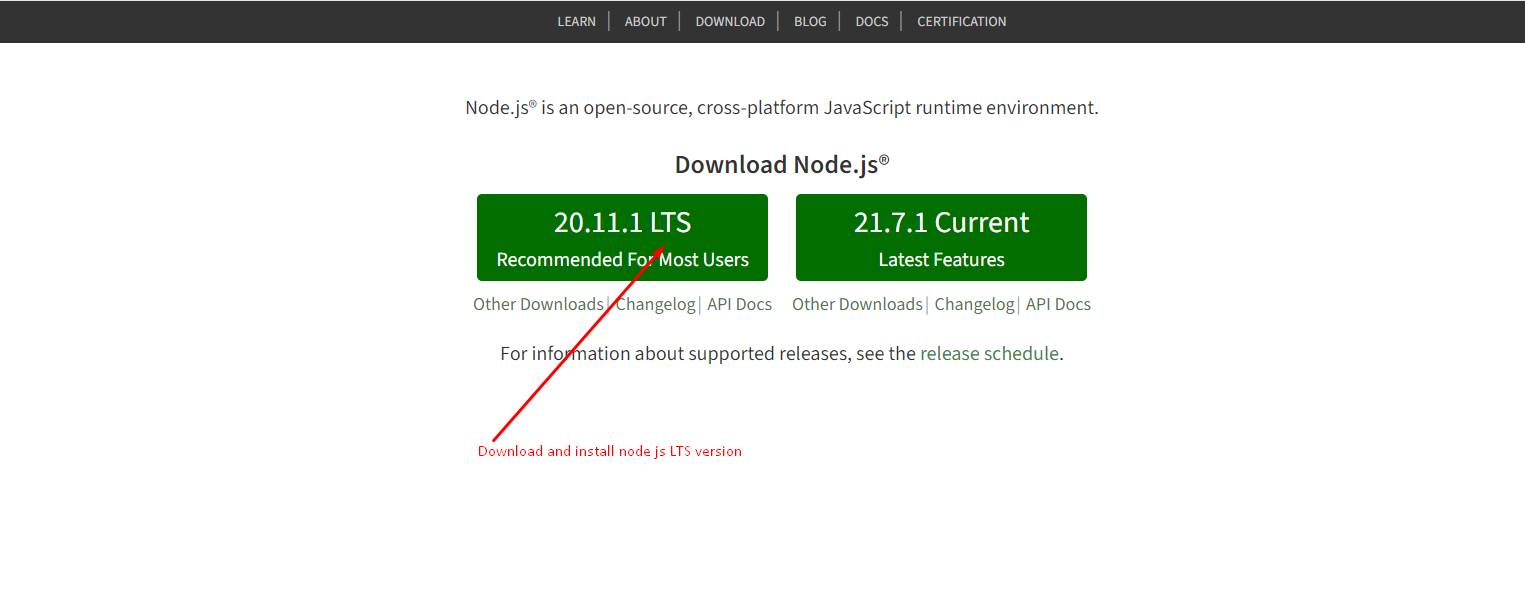
For direct download go here APK Download

For Google Store installation go here Google Store
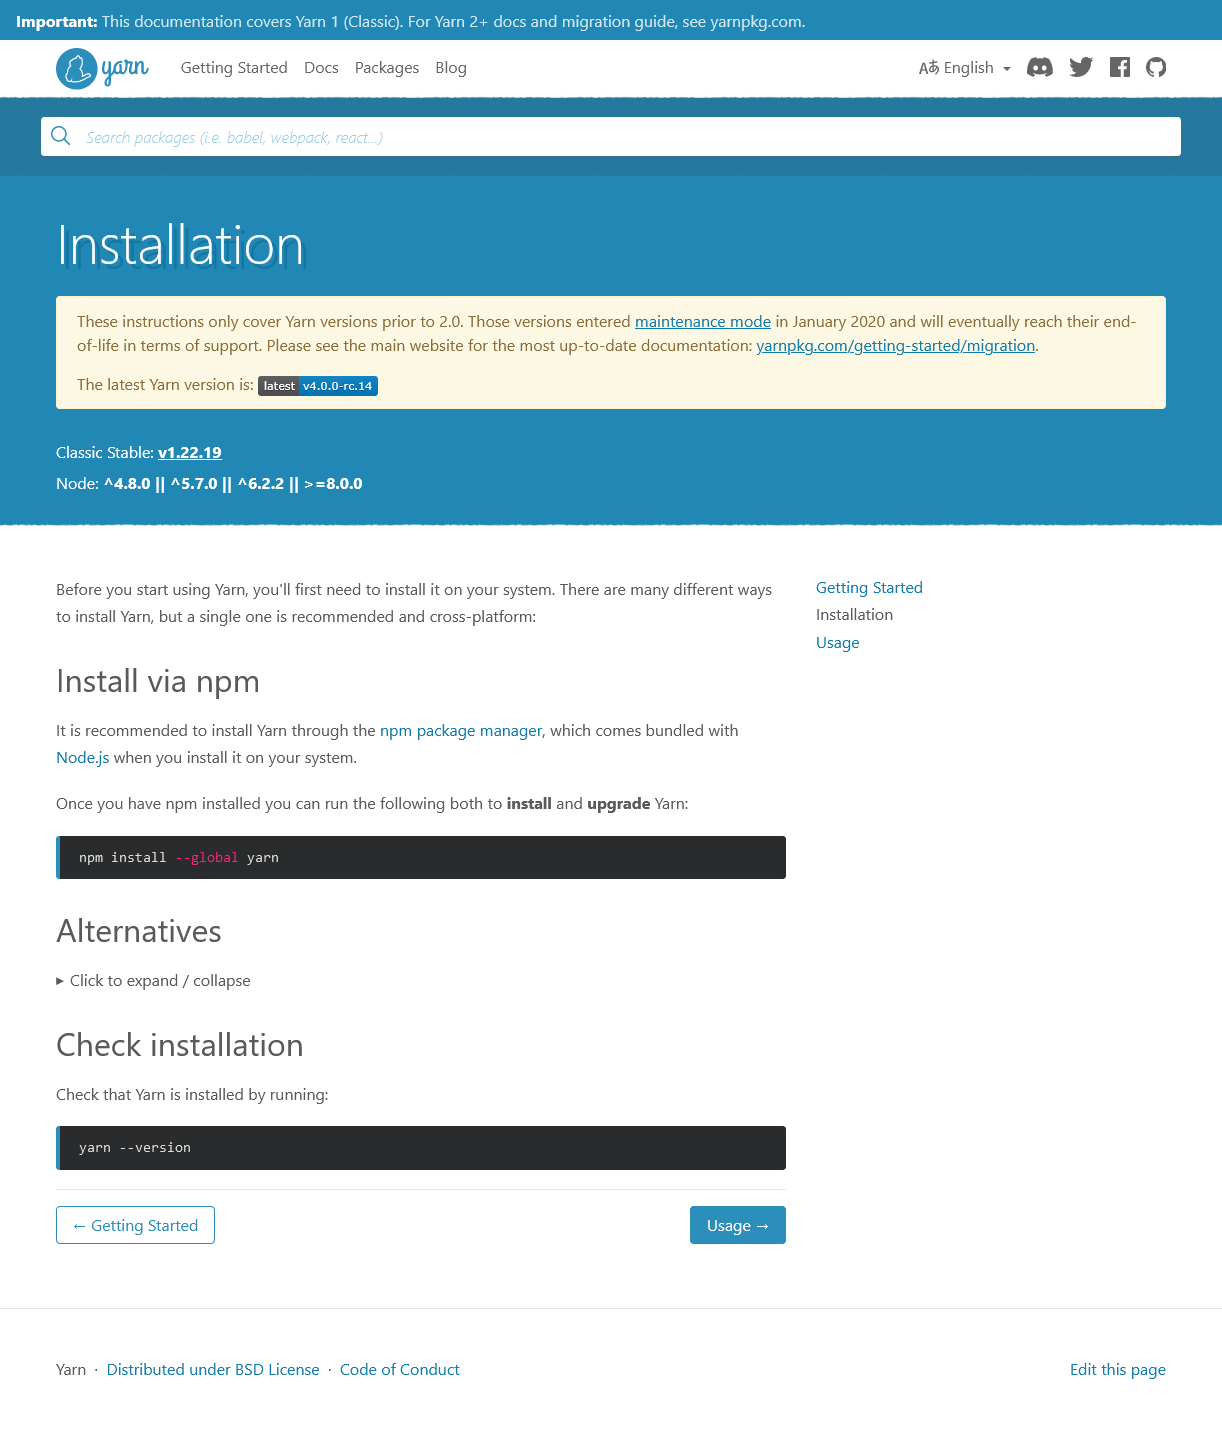
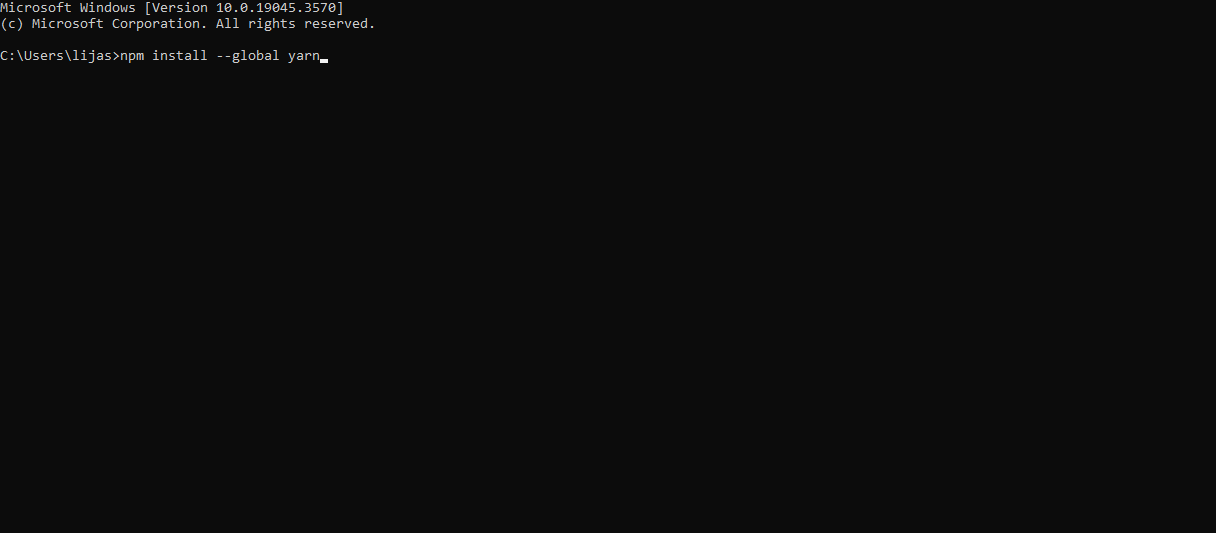
Install APP

APP Features

  • Latest Android support (Android 12)
  • Automatic template upgrade
  • Dynamic character revision
  • User-friendly interface
  • Save and share in social media in one click
  • Based on Kotlin 5.x
  • Flat, modern and clean design.
  • Cleaning on-page optimized.
  • Free premium quality support
  • No background processes
  • Google fonts
  • 100% open source
  • Nice and clean UI design
  • User manual online
  • Customizeable all characters of each template image
  • Integrated with cloud support
  • Image theme change function
  • API support (in the future)
  • Google plat store available
  • Image background
  • Easy to customize
  • Flexible and multi-purpose
  • Valid / CSS3
  • 24/7 Awesome support
  • Detailed documentation

What's Included

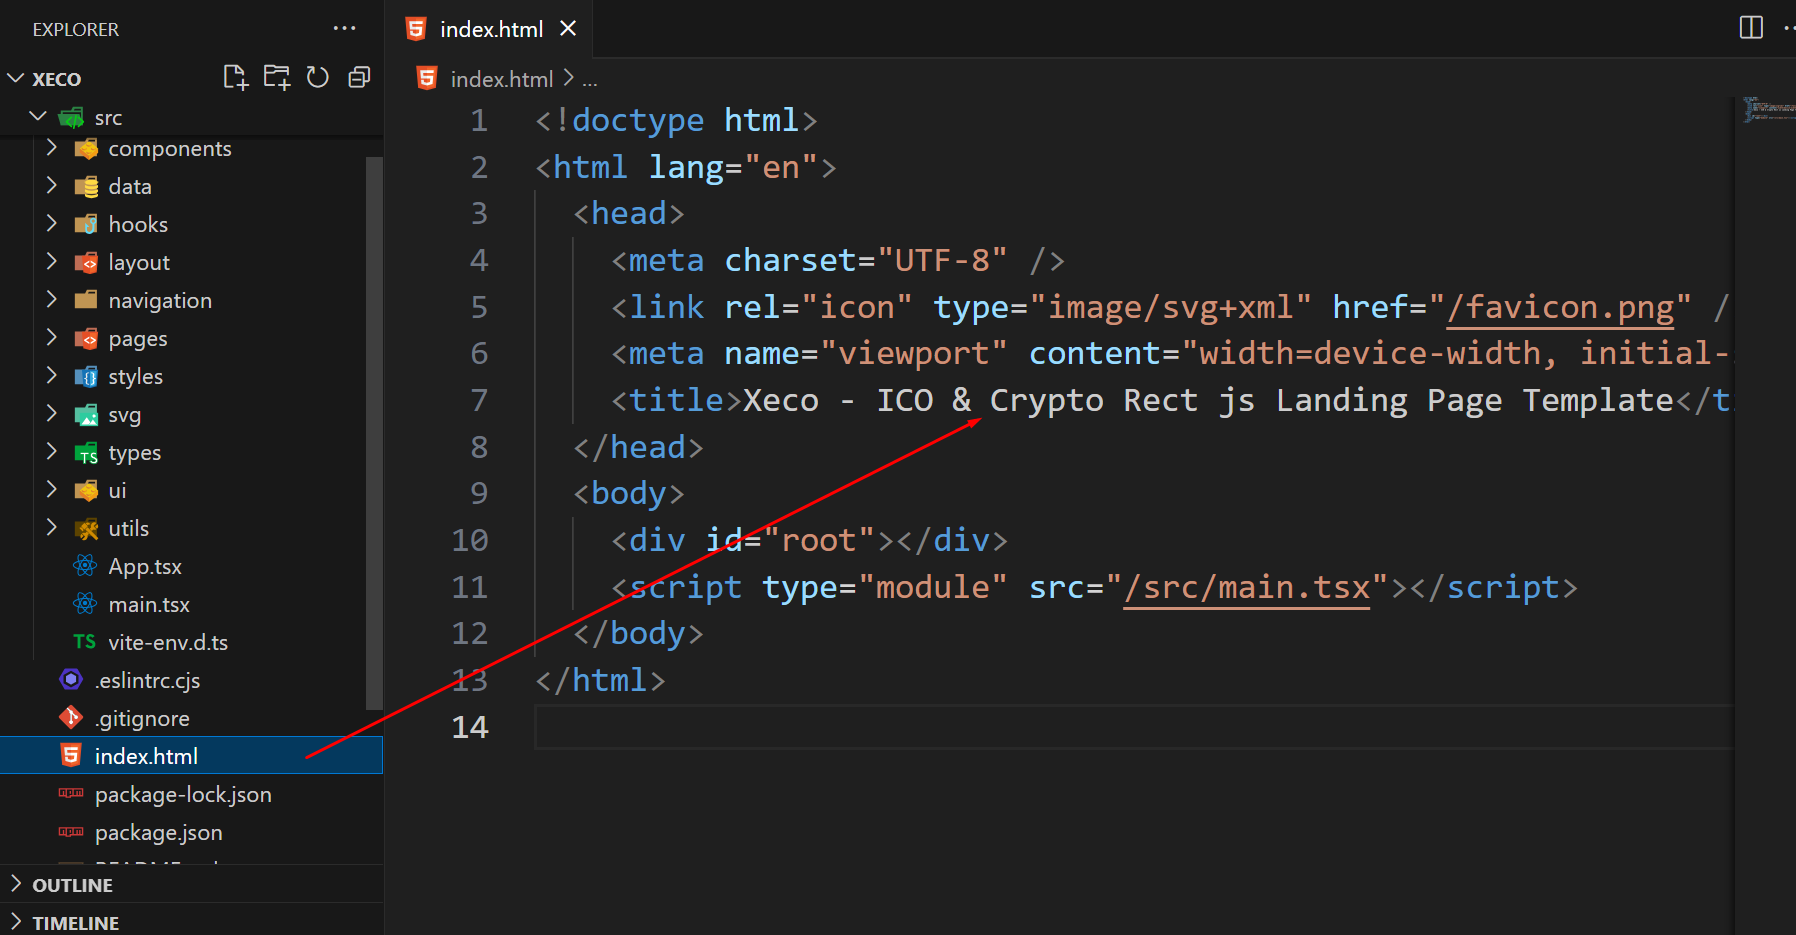
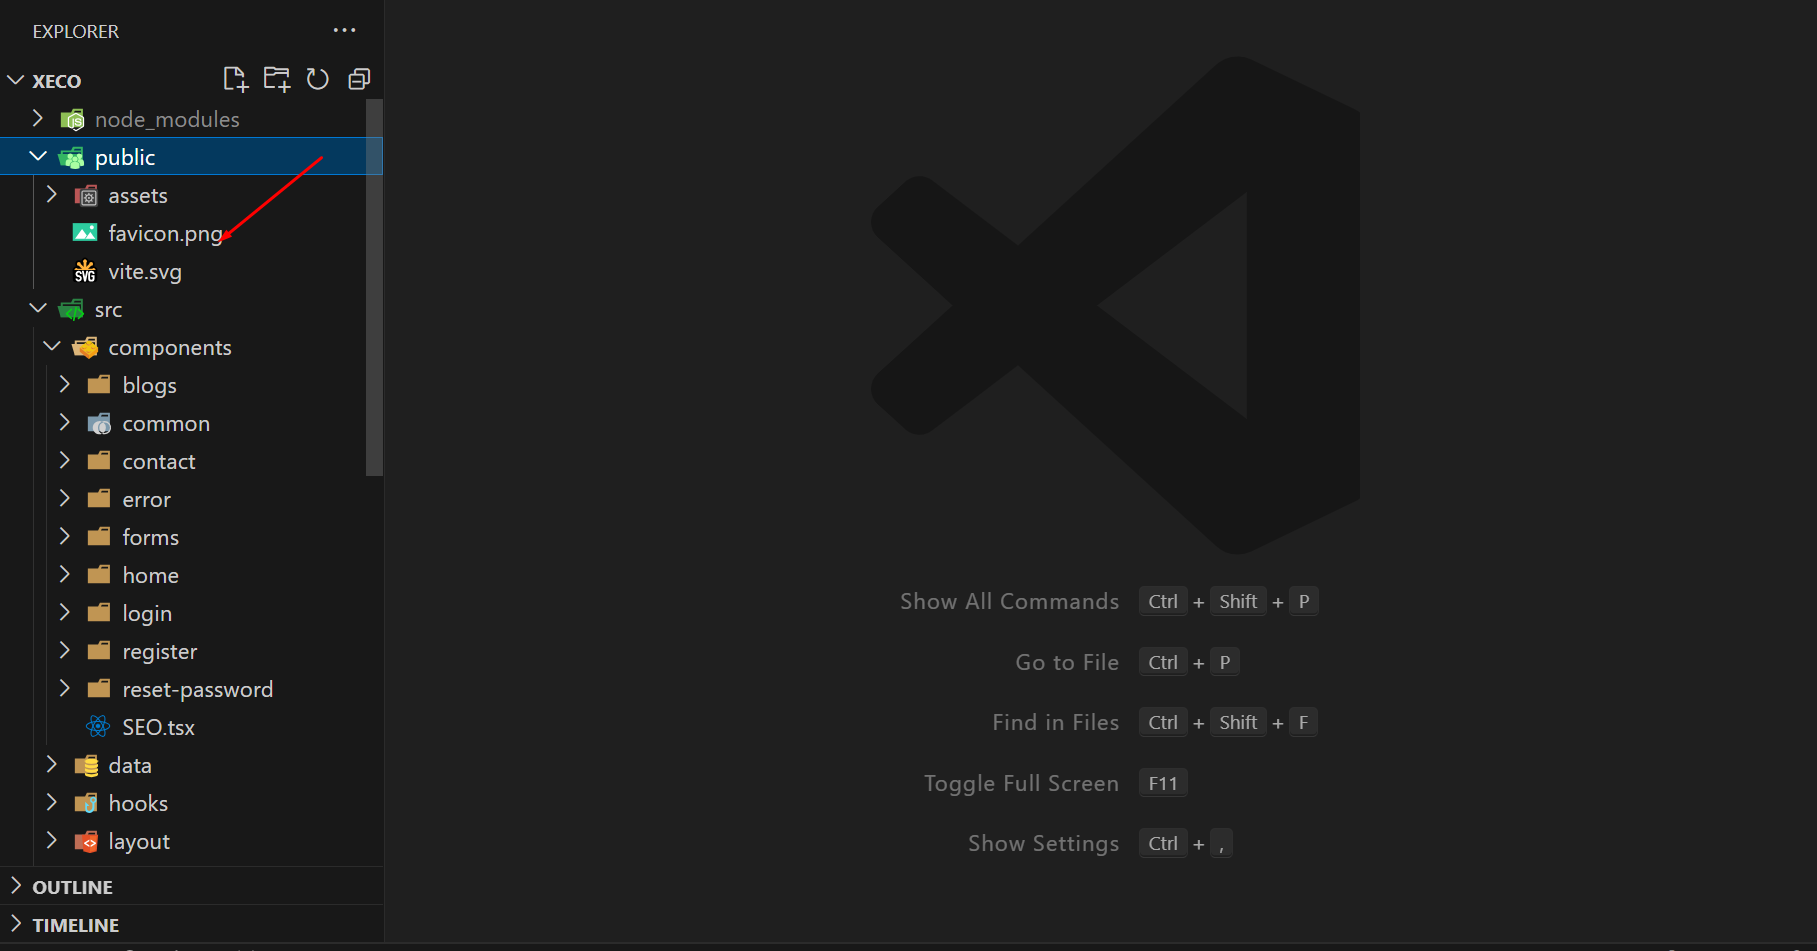
After purchasing Xeco template on themeforest.net with your Envato account, go to your Download page. You can choose to download Xeco template package which contains the following files:

The contents of the template package downloaded from ThemeForest

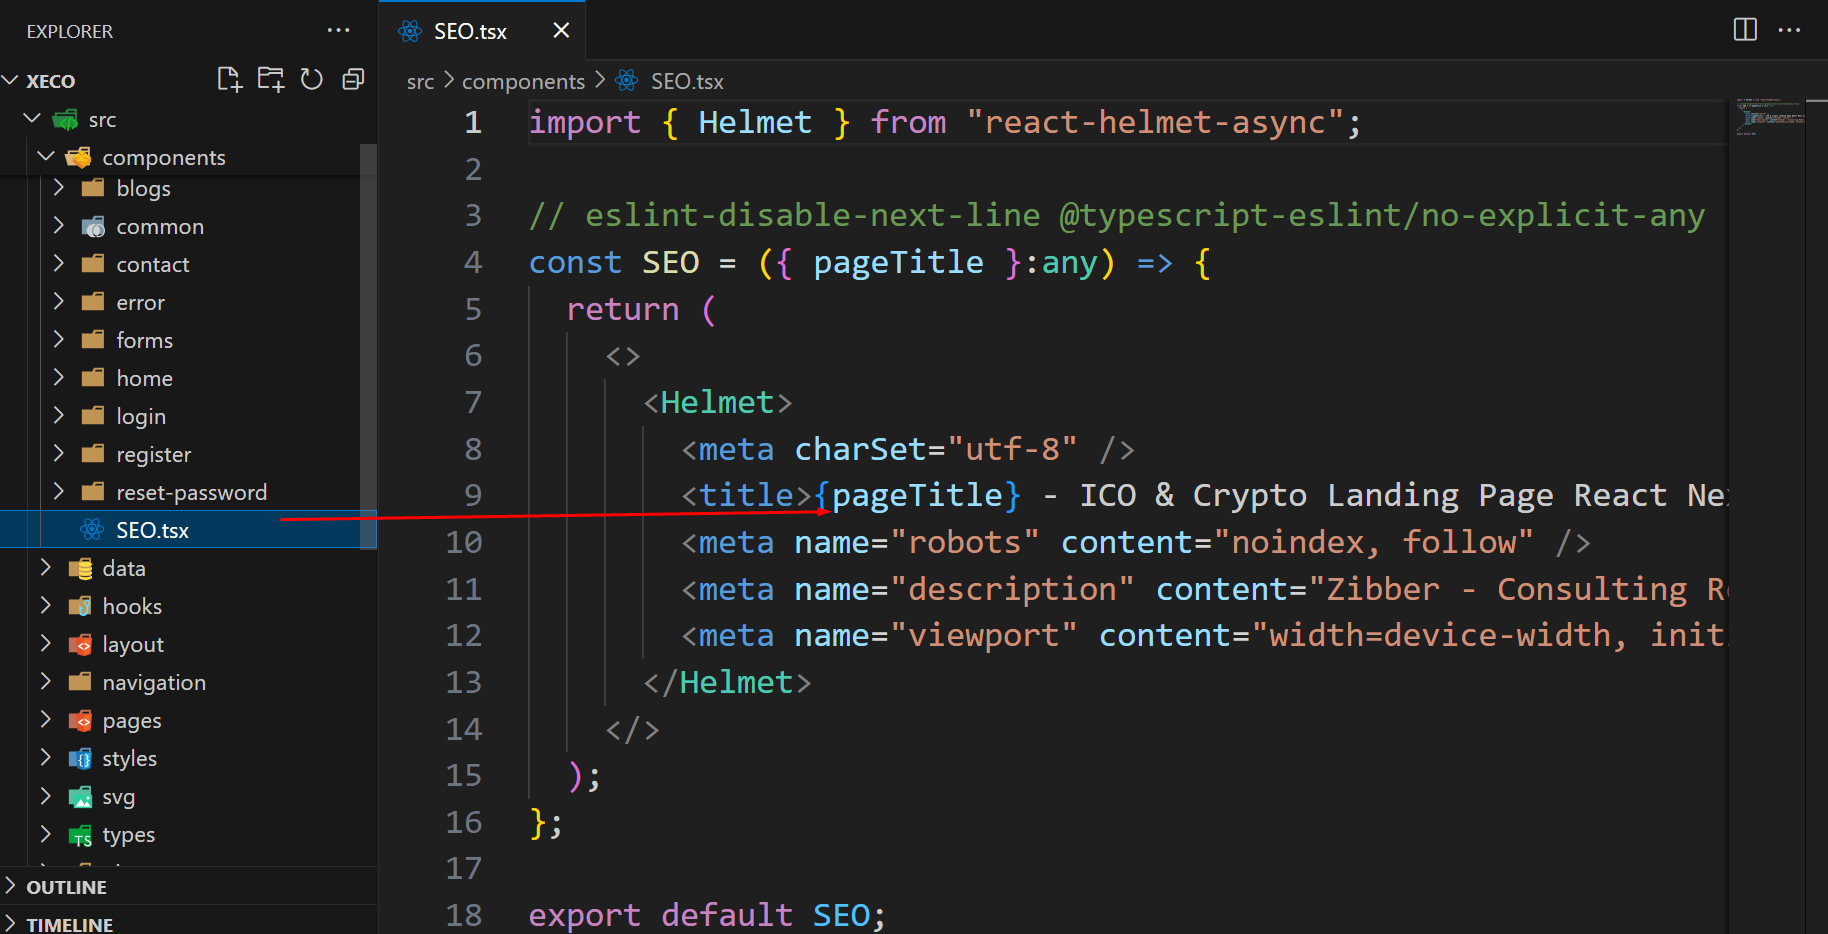
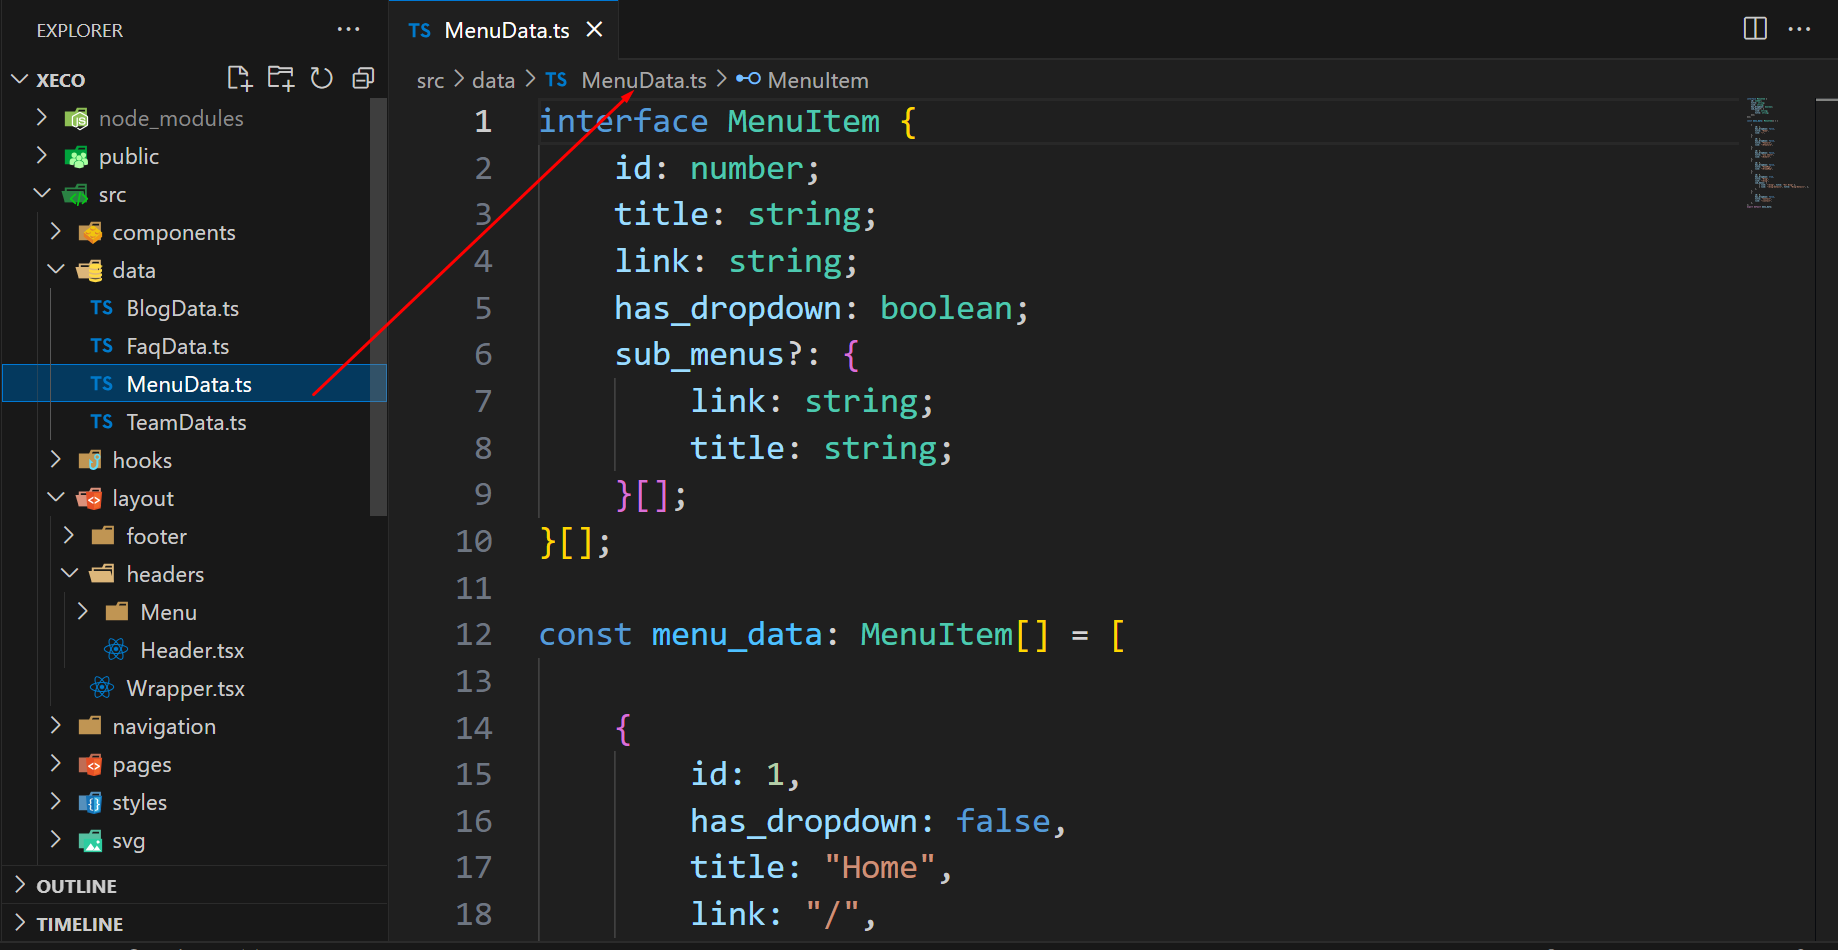
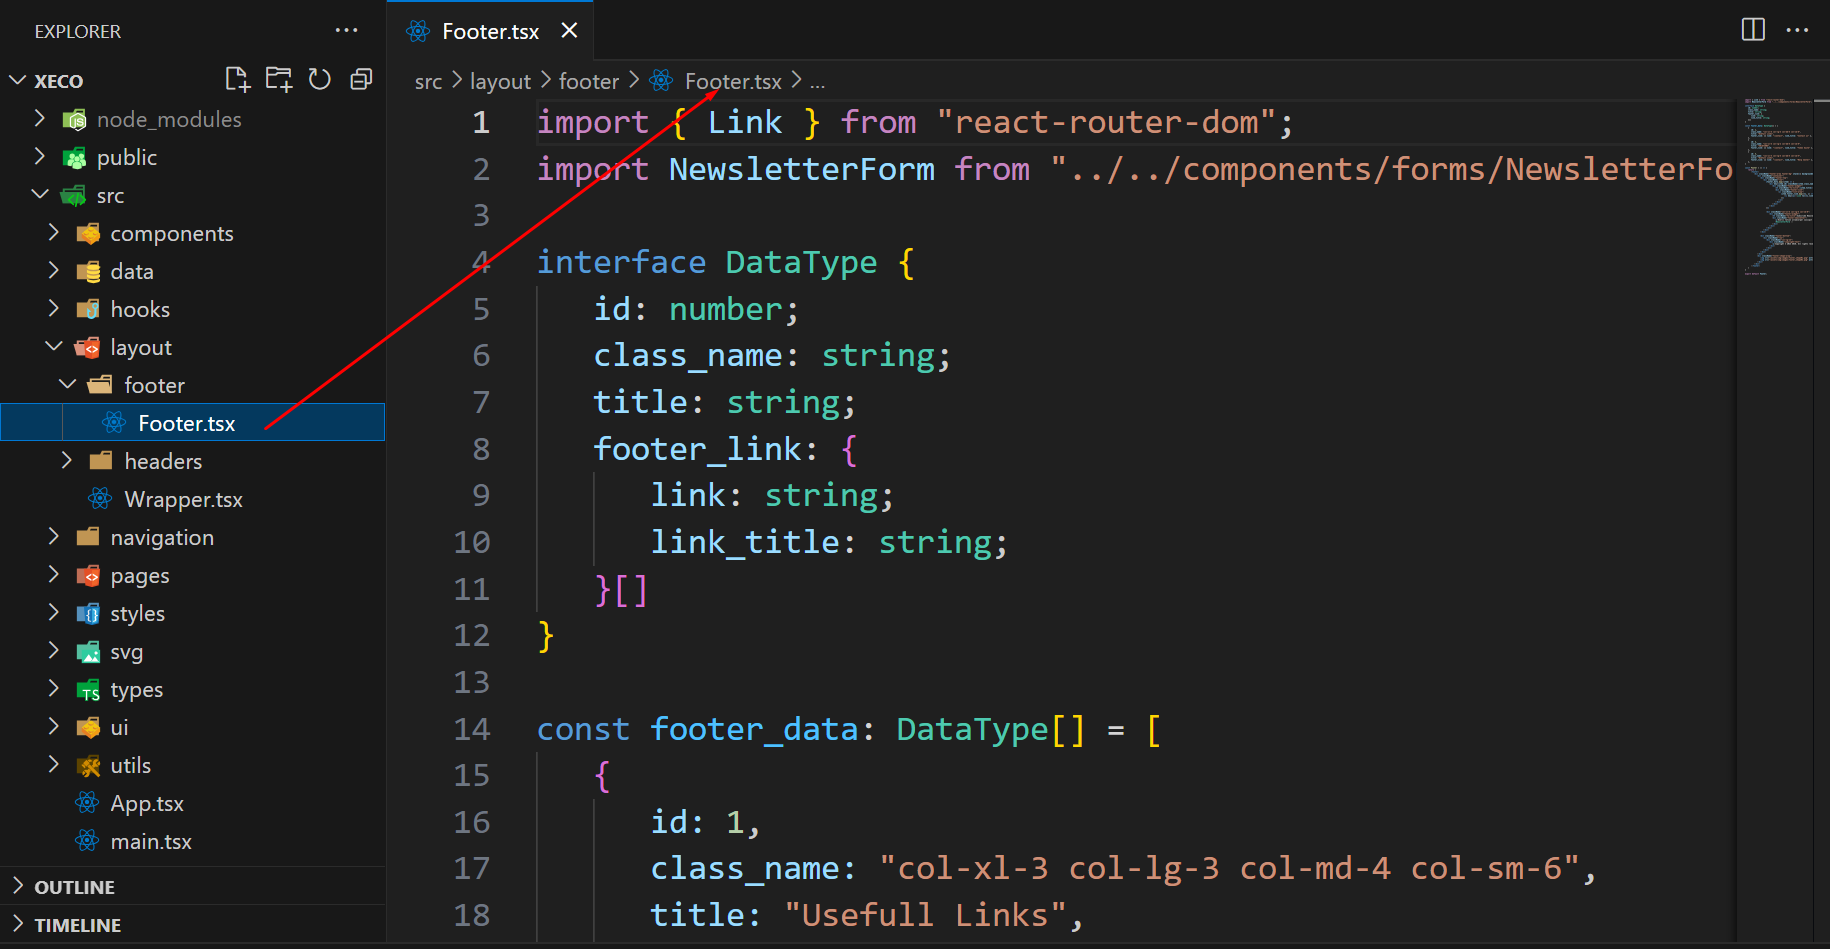
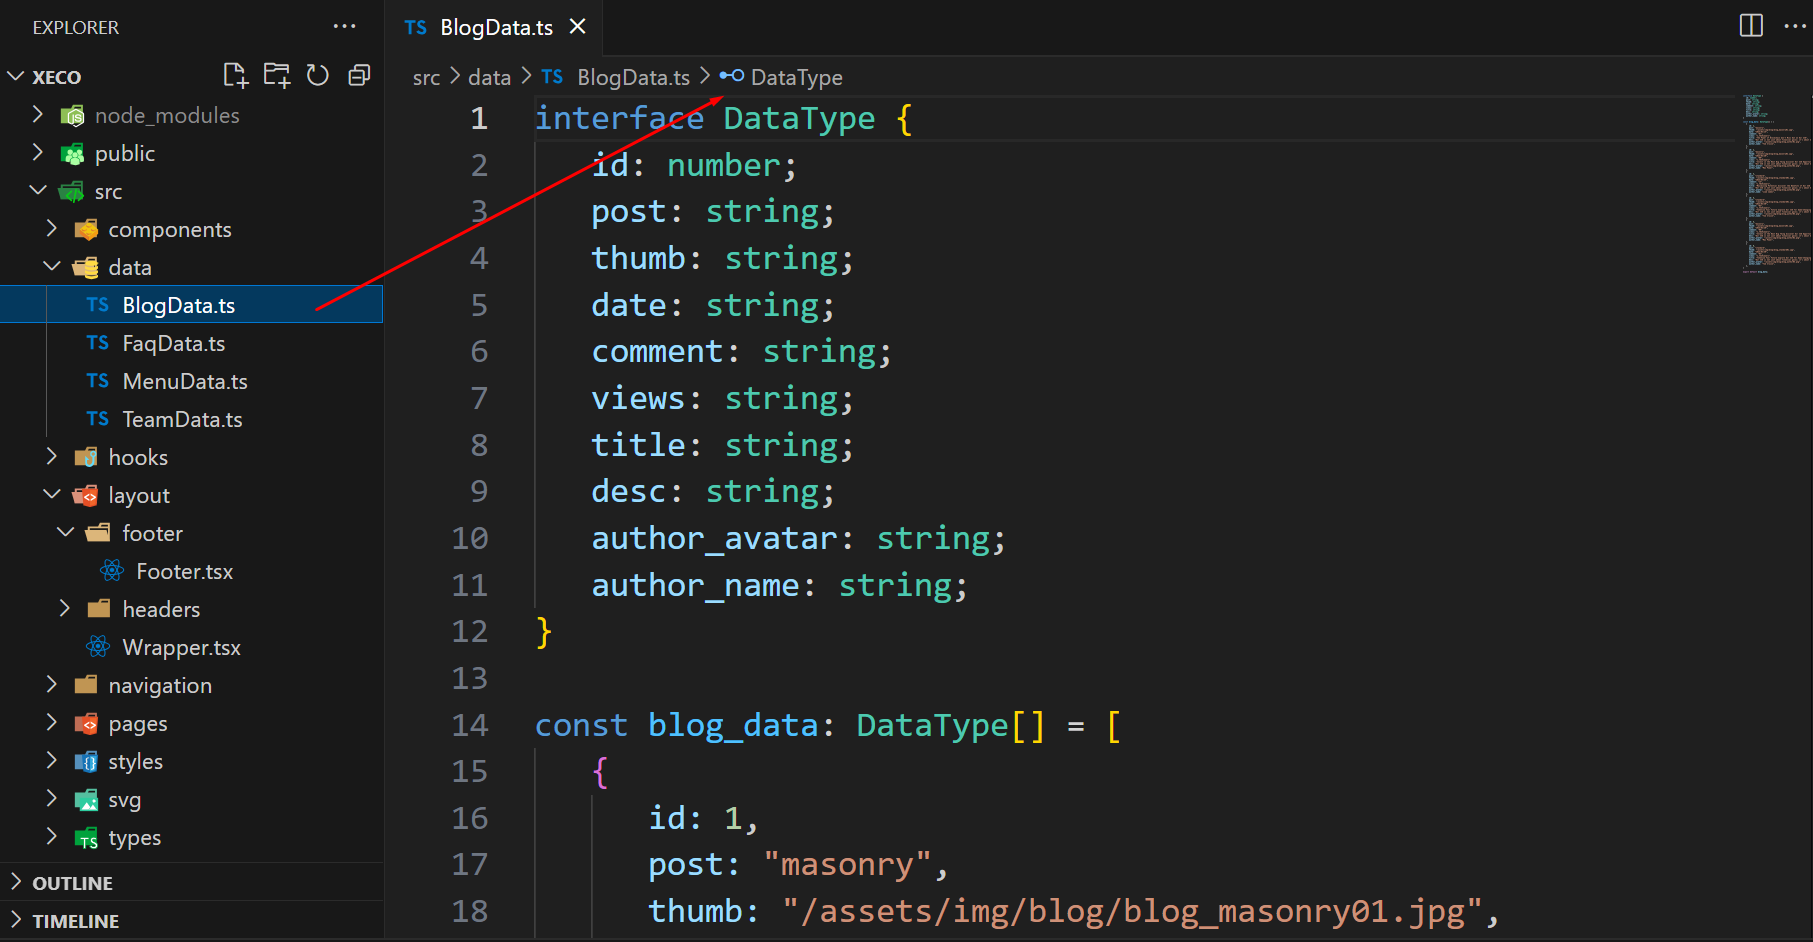
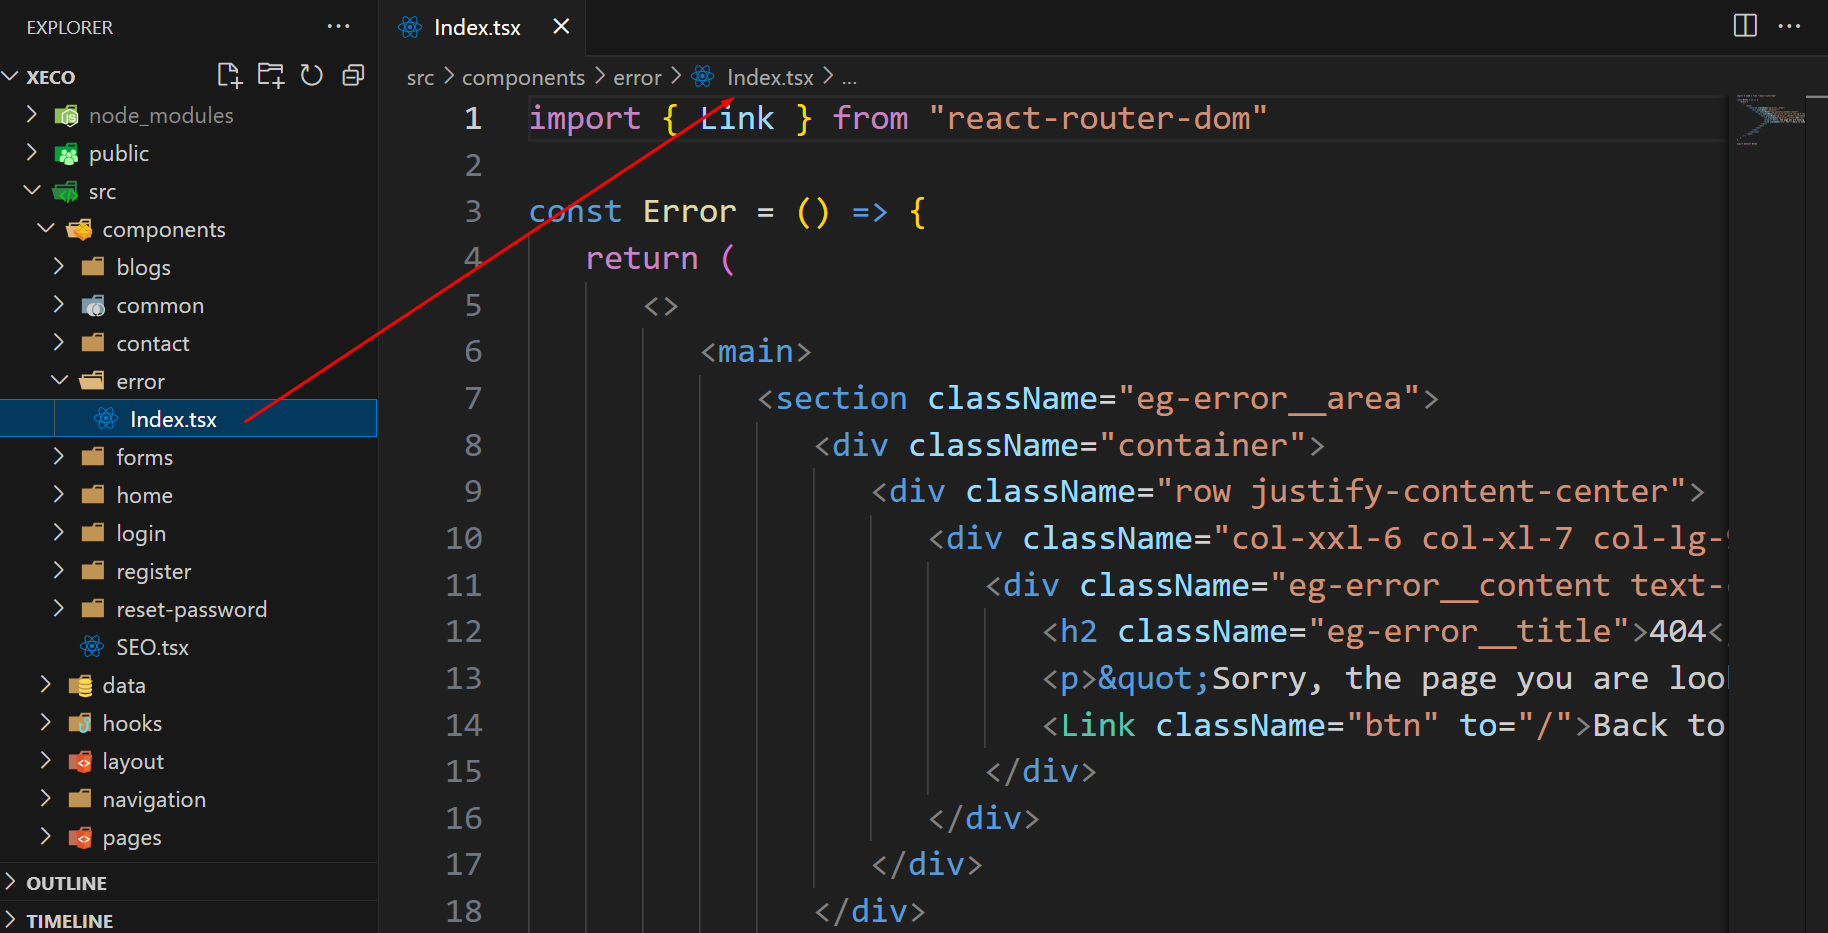
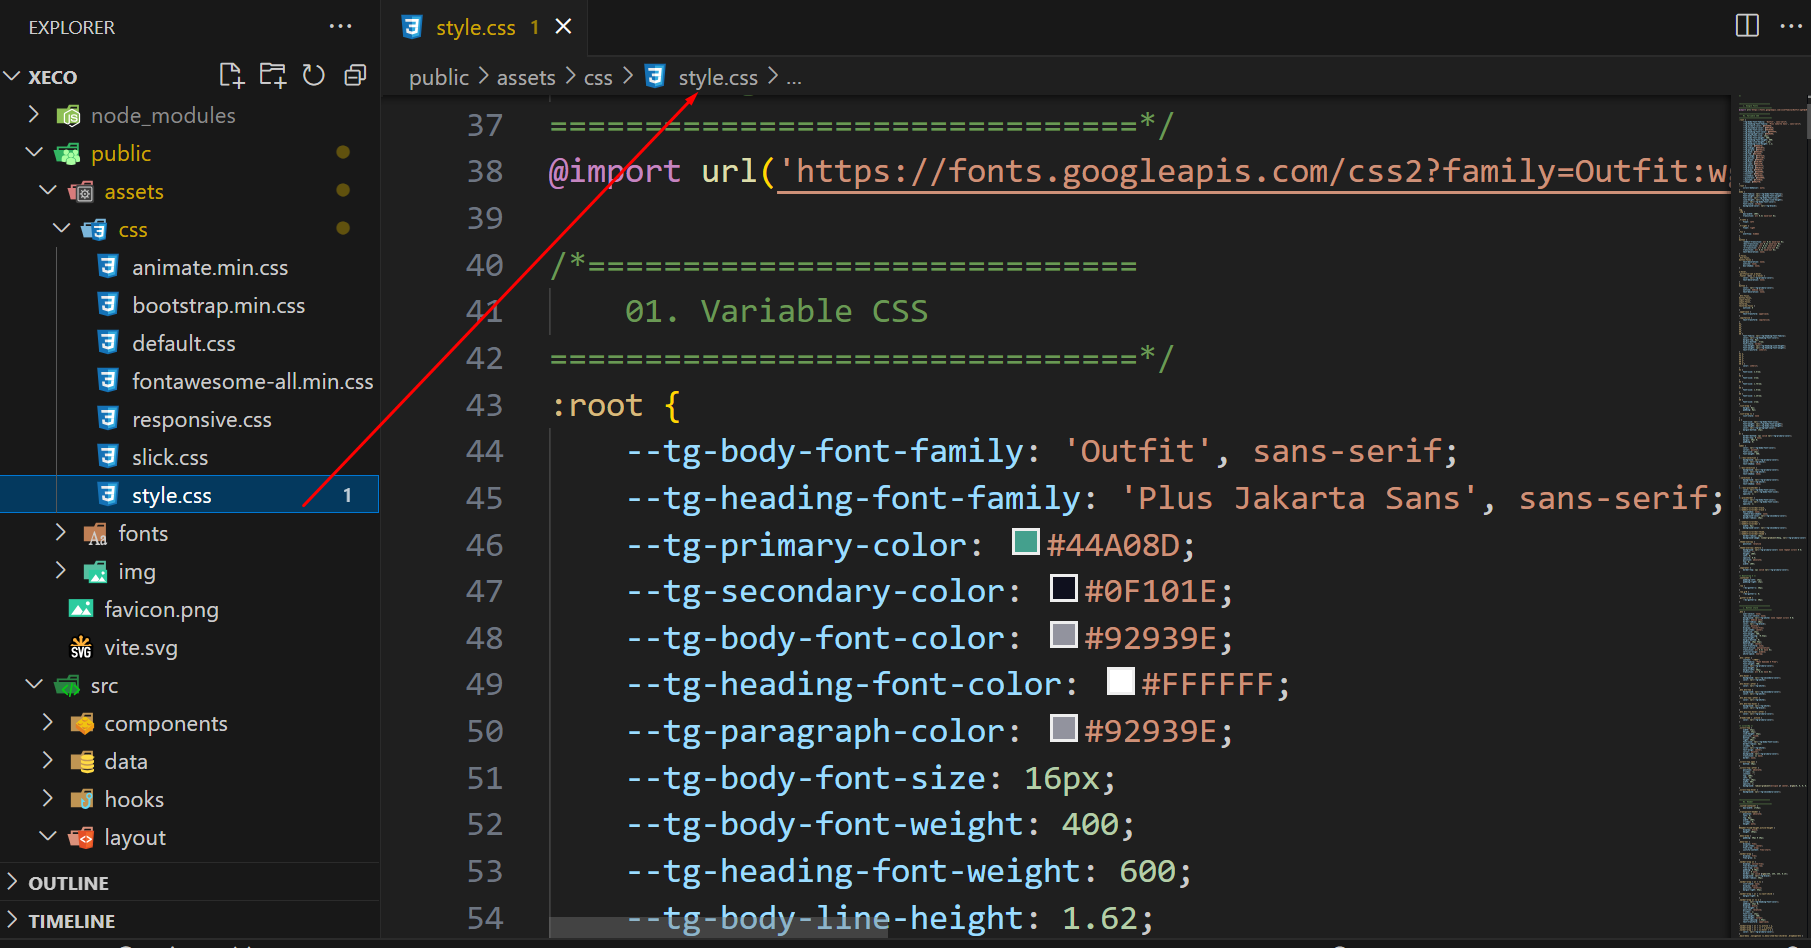
  • Xeco - An React Template file. this file you ca edit and use for your business.
  • Documentation - This folder contains what you are reading now :)

Activation Code Acquisition

To unlock the advanced features of our app, you need to acquire an activation code. Follow the instructions below:

  1. Obtain activation code -
    1. Buy our token from the designated platform.
    2. Receive a hash code as the activation code.
    3. Store it securely somewhere.


  1. Activation code verification -
    1. Open the APP and click the `activation` button.
    2. Enter this hash code into the activation field in our app.
    3. Click 'verify' to verify the activation code
    4. Once the code is verified success fully, the advance feature of editing will be unlocked.


Support Us
  1. Recommend our software to others
  2. Rate us 5-star in Goolge Play store
  3. Follow our Twitter for awesome information

Basic APP Functionality

Change Site Title, Favicon and Page Title

To change your Site title and Favicon open the Xeco in your editor and go to the location by following screenshot which are given bellow.

3.1.1
You can change title here
3.1.1
You can change page title here
3.1.1
You can change favicon here

Customize Menu

To customize menu do the following:

  1. From the project folder go to src data menu-dataOpen the menu you want to use
  2. Then customize the menu
3.1.1
Customize the menu

Customize Blog data

To customize blog data do the following:

  1. From the project folder go to data blog-data Open the menu you want to use
  2. Then customize the blog data
3.1.1
Customize the blog

404

To change 404 and setting you can change by following this screenshot here.

  1. From the project folder go to components errorindex.tsx Open the menu you want to use
  2. Then customize the 404 data
3.1.1
Customize the 404

Customize Header

We gave you four header layout. you can modify the header markup there.

  1. From the project folder go to layout headersheader Open the menu you want to use
  2. Then customize the blog data
3.1.1
Customize the header

CSS

To change css and setting you can change by following this screenshot here.

  1. From the project folder go to public assetscss style.css Open the menu you want to use
  2. Then customize the css data
3.1.1
Customize the color

Responsive

To change responsive and setting you can change by following this screenshot here.

  1. From the project folder go to public assets ccss responsive.css Open the menu you want to use
  2. Then customize the Responsive data
3.1.1
Customize the Responsive

Support

If you face any issue please contact us at [email protected]. We provide 15 hours real-time support for our customers.

If you love the app, Don't forget to rate us 5 stars and let us know your feedback for a better update.

Thank you for using our application.